 Gookit
Multi-column label template
Multi-column templates match groups of separate labels on a roll. Learn how to count physical rows and columns and match the printed page to your paper.
On this page
A multi-column template matches a repeating group of separate labels on a roll. These supplies include 2-up and side-by-side labels; some groups have labels stacked vertically instead.
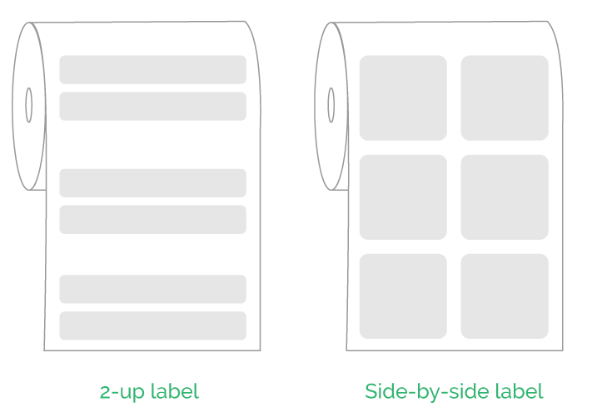
Common use case: small stickers (like jewelry tags or mini price labels) where you want to maximize roll usage.
Layout variations
Count the physical stickers within one repeating group. Rows run from top to bottom; columns run from left to right.
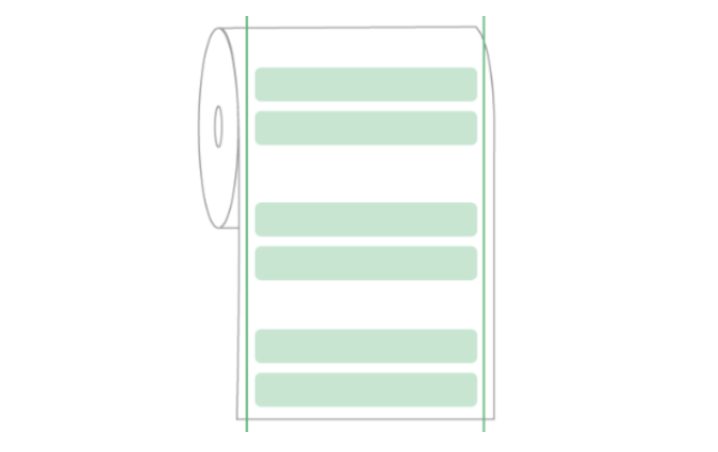
Two-row, one-column — two separate stickers stacked vertically in one group.
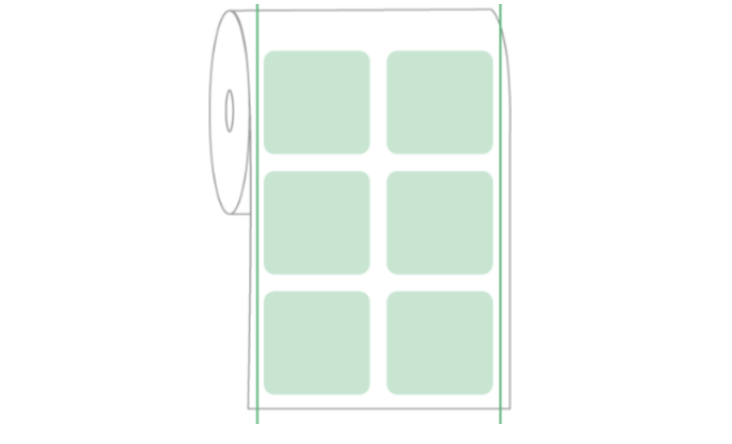
One-row, two-column — two separate stickers side by side in one group.
Two lines or columns of text inside a single sticker do not change its physical label layout. See Label templates to identify your paper.
Create a multi-column label template
Example: one row, two columns, each label 25 × 15 mm. The gap depends on your actual roll; it is not included in the dimensions of one sticker.
Add your product data
- Add Text and use Link to to connect it to the product name field.
- Add a Barcode, link it to the barcode field, and choose a format that matches your data.
- Arrange the elements on one label and Save the template.
- Generate a PDF with your saved template and print a test group of labels.
What’s next
Questions about this article? Email our team.
Send feedback