 Gookit
Font styles and automatic text shrinking
Change a text element's font, size, alignment, and style, or shrink long text to fit its box.
On this page
Change the font or style
- Open a template from Templates and select a text element on the canvas.
- Click Font settings in the editor toolbar.
- Choose a font and enter a Font size. Use the formatting buttons for bold, italic, underline, or strikethrough.
- Save the template when you finish.
The same panel has horizontal and vertical alignment controls. Line height changes the spacing between lines, and Convert case changes the text’s letter case.
If Font settings is disabled, select a text element first. Barcode text has its own controls under Barcode Settings.
Fit long text into its box
Select the text element, open Font settings, and turn on Shrink text automatically.
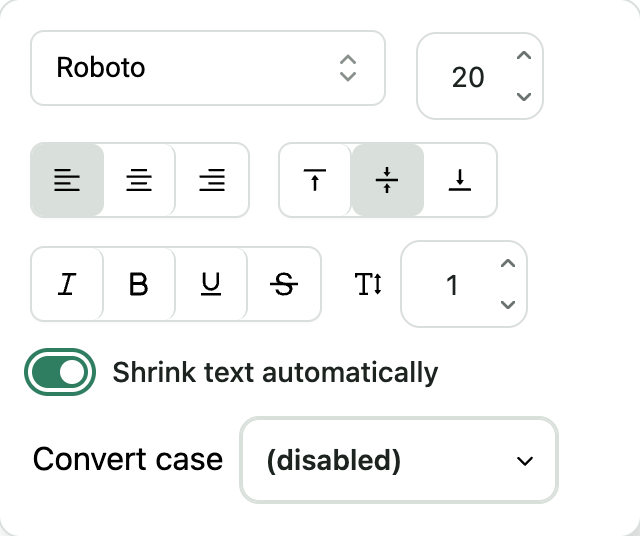
BarcodeMan starts with your chosen font size and reduces it when the text needs more room. Short text that already fits keeps its size. This is useful for a product-name field where some names are much longer than others.
The setting fits text within the box’s width and height. It can use more than one line. To change the line layout, follow Show text on one line or multiple lines.
Check readability before printing a batch
Save the template, then generate a PDF containing both a short and a long product name. Auto-shrink can make the longer name smaller, so check that both are readable on a test label.
If the text becomes too small, enlarge its box or use a shorter value. Turn off auto-shrink when you need a fixed font size, and leave enough room for your longest text.
Questions about this article? Email our team.
Send feedback